How To Shea Butter Soap
I consider making soap magic and I truly enjoy this art and today I want to share with you a simple and easy recipe you can follow to which can reduce plastic and unnecessary chemicals in your home. A handmade soap can do the same or even better, keeping your skin moisturized, soft and clean.
This post may contain affiliate links, which means I’ll receive a commission if you purchase through my link, at no extra cost to you. Please read THE full disclosure here.
For more Guides, tips & tricks follow me on Instagram @boobsieleena
With Christmas approaching an handmade soap can be the perfect gift for a love one.
The ingredient in this recipe is very very easy to find you might even have half of them in your home already.
The first thing I want to tell you is try not to feel overwhelmed you might not have the same mold or brands I use its okay.
For now let’s just enjoy that beautiful spark in your chest to try making your first soap.
Please note : The sodium hydroxide will defiantly come in a plastic container and should be keep away in a safe place away from children and animals.
The basics of soap making
Soap is the result of the reaction (also called saponification) between fats (contained in oils and butters) and an alkaline solution (sodium hydroxide, also called lye or lye solution, or even caustic soda (NaoH).
When mixing water and sodium hydroxide together, we obtain this ‘lye solution.’ The lye solution is then added into the oils you chose to use in your soap. Upon mixing the two, saponification happens, and the oils magically become soap. The soap is liquid at first but will start to thicken until it reaches a thicker stage called ‘trace.’ The soap is then unmoulded after 24 hours, and let to air dry for about six weeks – or even longer if you wish, and have the patience! The longer the soap ages, the milder it gets.
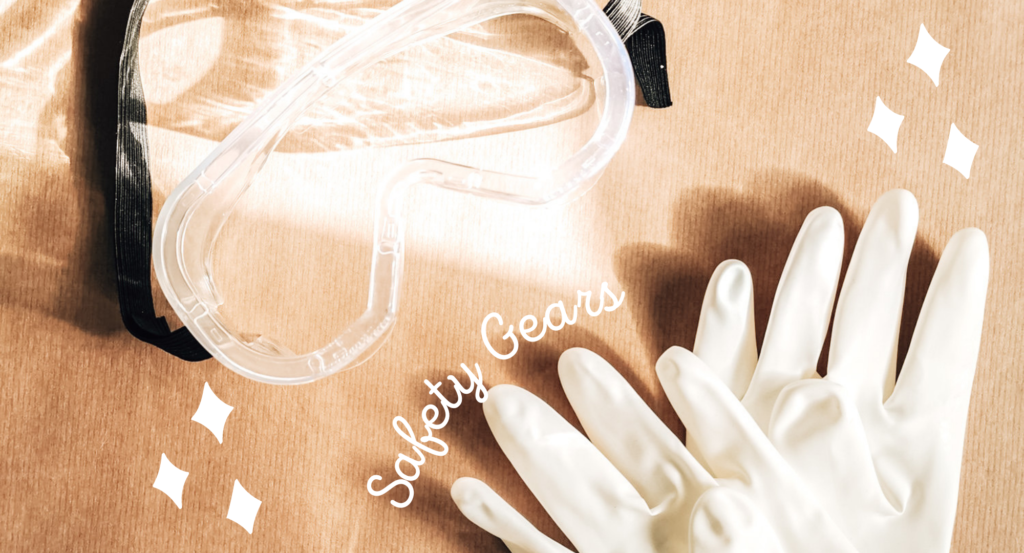
Sodium hydroxide is a caustic material that should be handled with care. Always wear rubber gloves and safety googles when making soap, and wear a respirator or mask when preparing your lye solution. Always add the lye to the water and never the opposite, and never leave the lye unattended. Avoid making soap with children and pets around you too.
Making soap doesn’t require expensive tools, and most of the stuff you need to start it’s very likely already in your kitchen. Just make sure that once you are using something for soap making, you are not using it for food.
Equipment
- Googles and gloves
- Mask or respirator
- High precision scale
- Heat safe Pyrex jug or bowl to weight and melt the oils and butters
- Bowl to weigh the sodium hydroxide
- Heat safe stainless steel or Pyrex jug to mix the lye solution
- Stainless steel tablespoon; optional, silicone spatula
- Moulds; I recommend silicone moulds as they are reusable, but you can also pour your soap in an upcycled milk carton
- Stick blender
- Thermometer; either a candy thermometer or a laser one
- Piece of carboard and towel or blanket
Ingredients For 200 grams (about 4 soaps of 50 grams each)
- Cold Water: 58.13 g/2.05 oz
- Sodium Hydroxide: 28.63 g/1.01 oz (equals to 33% lye concentration)
- 60% Olive Oil: 120 g/4.23 oz
- 33% Coconut Oil: 66 g/2.33 oz
- 7% Shea butter: 14 g/0.49 oz
- Lavender essential oil: 6 g/0.21
Substitutions
Any variety of oil works (such as extra virgin, refined or unrefined). I have used pure non-extra virgin olive oil, coconut oil, and unrefined shea butter here. You can also use a different essential oil, however do make sure to check any contraindications first. If you want to make a smaller or larger batch, divide or multiple each ingredient as necessary. Please don’t swap any oil in the recipe: if you do, you will need to recalculate the sodium hydroxide amount as well.
Method
Step One:
Gear up for safety: wear googles and gloves and keep them on at all times. Weight the sodium hydroxide in a glass or ceramic bowl. In a separate heat safe stainless steel or Pyrex glass bowl, weigh the fridge-cold water.
Step Two:
Wear your respirator. Slowly add the sodium hydroxide into the water. Stir well with a stainless-steel tablespoon until fully dissolved.
Step Three:
Let the lye solution cool down until it reaches 43°C (120°F). In the meantime, weigh the oils in a heat safe glass or ceramic bowl. Place this in the microwave or bain-maire to melt the coconut oil and the shea butter and heat up the olive oil. The oils should also be at around 43°C (120°F).
Step Four:
Measure the temperature of the lye solution and the melted oils. If the temperature is correct, slowly add the lye solution into the oil and mix with a spatula or a tablespoon until they are all combined.
Step Five:
It’s time to stick blend. Do so until the soap is still very runny but you can clearly see that the batter has turned out to be fully mixed in and has an opaque colour.
Step Six:
At this point, add the essential oils and mix them in with a spatula or tablespoon. Stick blend again until you reach a slightly thicker trace that looks more like a light custard.
Step Seven:
Pour the batter into the mould, tap to remove any air bubbles and cover the mould with a piece of cardboard (or place it inside a shoe box) and cover it with a towel or blanker to keep it warm.
Step Eight: Let the soap harden for 24 hours, then unmould and leave to cure for four to six weeks before using it.
Let me know how how your soap turn out and send me pictures too. Feel free to tag me on instagram @Boobsieleena
